Install R, a free software environment for statistical computing and graphics from CRAN, the Comprehensive R Archive Network. We highly recommend you install a precompiled binary distribution for your operating system – use the links up at the top of the CRAN page linked above!
Install RStudio’s IDE (stands for integrated development environment), a powerful user interface for R. Get the Open Source Edition of RStudio Desktop.
If you have a pre-existing installation of R and/or RStudio, we highly recommend that you reinstall both and get as current as possible. It can be considerably harder to run old software than new.
If you upgrade R, you will need to update any packages you have installed. The command below should get you started, though you may need to specify more arguments if, e.g., you have been using a non-default library for your packages.
update.packages(ask = FALSE, checkBuilt = TRUE)Note: this will only look for updates on CRAN. So if you use a package that lives only on GitHub or if you want a development version from GitHub, you will need to update manually, e.g. via devtools::install_github().
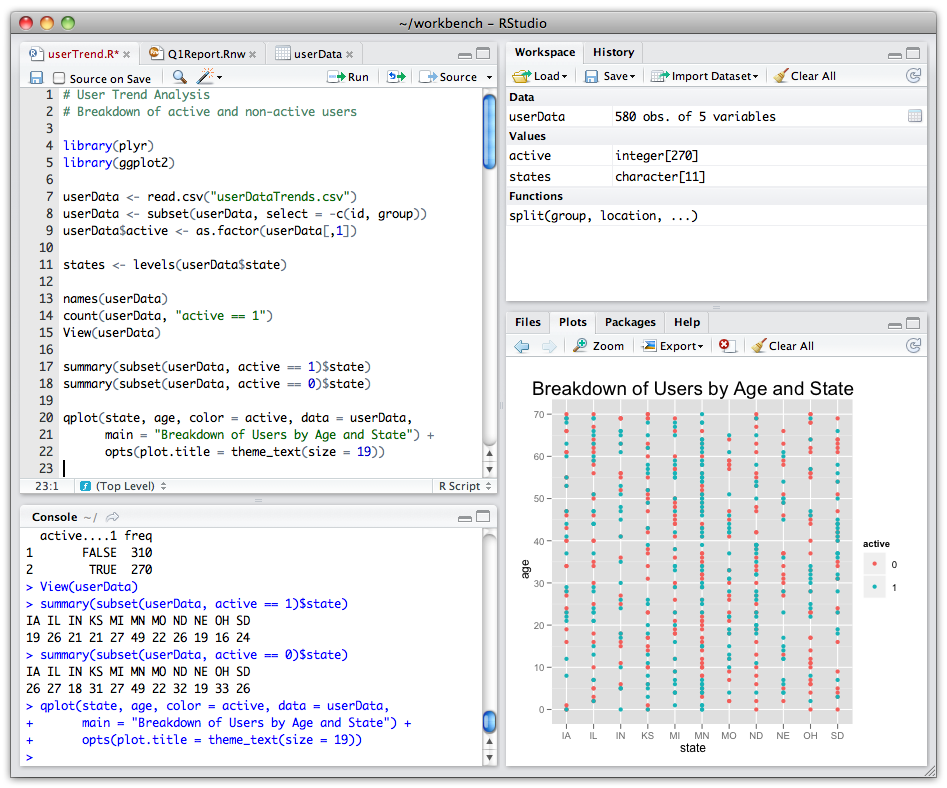
Do whatever is appropriate for your OS to launch RStudio. You should get a window similar to the screenshot you see here, but yours will be more boring because you haven’t written any code or made any figures yet!
Put your cursor in the pane labelled Console, which is where you interact with the live R process. Create a simple object with code like x <- 2 * 4 (followed by enter or return). Then inspect the x object by typing x followed by enter or return. You should see the value 8 print to screen. If yes, you’ve succeeded in installing R and RStudio.
The above will get your basic setup ready but here are some links if you are interested in reading a bit further.
You need Git, so you can use it at the command line and so RStudio can call it.
If there’s any chance it’s installed already, verify that, rejoice, and skip this step. (But consider updating an existing installation.)
Otherwise, find installation instructions below for your operating system.
Go to the shell. Enter which git to request the path to your Git executable:
which git
## /usr/bin/git
and git --version to see its version:
git --version
## git version 2.7.4
If you are successful, that’s great! You have Git already. No need to install! Move on.
If, instead, you see something more like git: command not found, keep reading.
macOS users might get an immediate offer to install command line developer tools. Yes, you should accept! Click “Install” and read more below.
Option 1 (highly recommended): Install Git for Windows, also known as msysgit or “Git Bash”, to get Git in addition to some other useful tools, such as the Bash shell. Yes, all those names are totally confusing, but you might encounter them elsewhere and We want you to be well-informed.
We like this because Git for Windows leaves the Git executable in a conventional location, which will help you and other programs, e.g. RStudio, find it and use it. This also supports a transition to more expert use, because the “Git Bash” shell will be useful as you venture outside of R/RStudio.
C:/Program Files and this appears to be the default. This implies, for example, that the Git executable on my Windows system is found at C:/Program Files/Git/bin/git.exe. Unless you have specific reasons to otherwise, follow this convention.This also leaves you with a Git client, though not a very good one. So check out some recommended Git clients here.
FYI, this appears to be equivalent to what you would download from here: https://git-scm.com/download/.
Option 2 (recommended): Install Git for Windows via the Chocolatey package manager. If this means anything to you, Chocolatey is like apt-get or Homebrew, but for Windows instead of Debian/Ubuntu Linux or macOS. As far as we can tell, using Chocolatey to install Git for Windows gives the same result as installing it yourself (option 1).
This obviously requires that you already have Chocolatey installed or that you are up for installing it. It is not hard and the instructions are here. This may be worthwhile if it seems likely you will be installing more open source software in the future.
After you install Chocolatey, in a shell, do:
choco install git.installThis installs the most current Git (Install) X.Y.Z Chocolatey package. At the time of writing, that is “Git (Install) 2.29.2.2”, but that version number will increment over time.
If you search Chocolatey packages yourself, you might see two packages that install Git – “Git (Install) 2.29.2.2” and “Git 2.29.2.2”, at the time of writing. We believe “Git (Install) 2.29.2.2” is technically the more correct, but we also think it doesn’t really matter which one you use. A rather confusing explanation is found here. Don’t worry too much about whether you do choco install git.install or choco install git.
If you already have Git for Windows, but it’s not the latest version, it’s a good idea to update. Since v2.16, you can update like so from the command line:
git update-git-for-windowsOption 1 (highly recommended): Install the Xcode command line tools (not all of Xcode), which includes Git.
Go to the shell and enter one of these commands to elicit an offer to install developer command line tools:
git --version
git config
Accept the offer! Click on “Install”.
Here’s another way to request this installation, more directly:
xcode-select --installWe just happen to find this Git-based trigger apropos.
Note also that, after upgrading macOS, you might need to re-do the above and/or re-agree to the Xcode license agreement. We have seen this cause the RStudio Git pane to disappear on a system where it was previously working. Use commands like those above to tickle Xcode into prompting you for what it needs, then restart RStudio.
Option 2 (recommended): Install Git from here: http://git-scm.com/downloads.
Option 3 (recommended): If you anticipate getting heavily into scientific computing, you’re going to be installing and updating lots of software. You should check out Homebrew, “the missing package manager for OS X”. Among many other things, it can install Git for you. Once you have Homebrew installed, do this in the shell:
brew install gitInstall Git via your distro’s package manager.
Ubuntu or Debian Linux:
sudo apt-get install gitFedora or RedHat Linux:
sudo yum install gitA comprehensive list for various Linux and Unix package managers:
Register an account with GitHub. It’s free!
You will be able to upgrade to a paid level of service, apply discounts, join organizations, etc. in the future, so don’t fret about any of that now. Except your username. You might want to give that some thought.
A few tips, which sadly tend to contradict each other:
NA because my vector of GitHub usernames contained missing values. A variant of Little Bobby Tables.- or underscore _.You can change your username later, but better to get this right the first time.
GitHub offers free unlimited private repositories for all users. These free private repositories support up to three external collaborators, making them a perfect place for your personal projects, for job applications, and testing things out before making your project open source.
Go ahead and register your free account NOW and then pursue any special offer that applies to you:
This work is licensed under the Creative Commons Attribution-NonCommercial 4.0 International License. To view a copy of this license, visit http://creativecommons.org/licenses/by-nc/4.0/.
The preceding materials were greatly influenced and produced from existing materials found in happygitwithR. Thank you to the happygitwithR team!